Tied Up for 12 Hours
The day after all the wall slats were painted, I returned to Steve and Natalie's house to begin tying more than 700 knots! This task could have benefited from a small crowd's help too, but I didn't want to overburden my friends. Also, I was very naive about how long it would take.
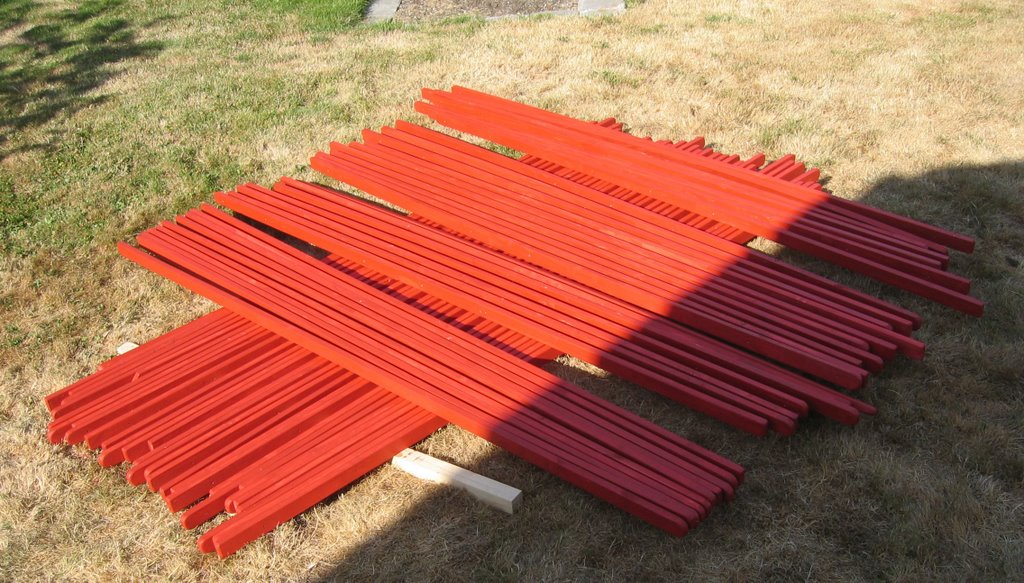
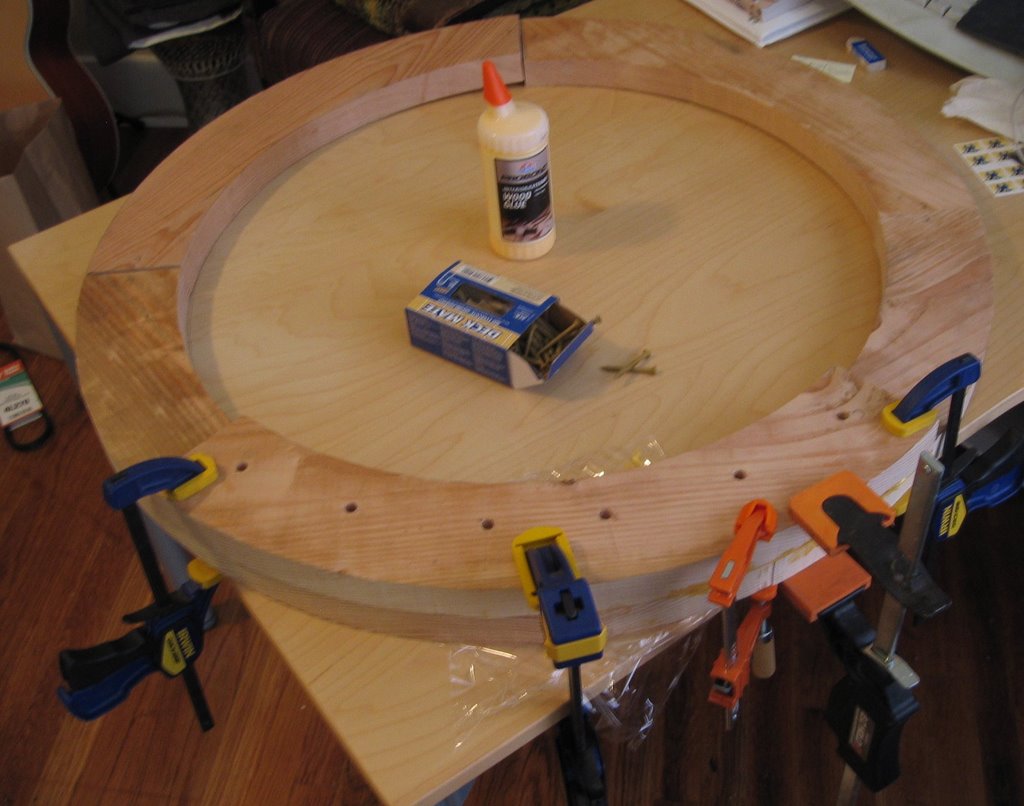
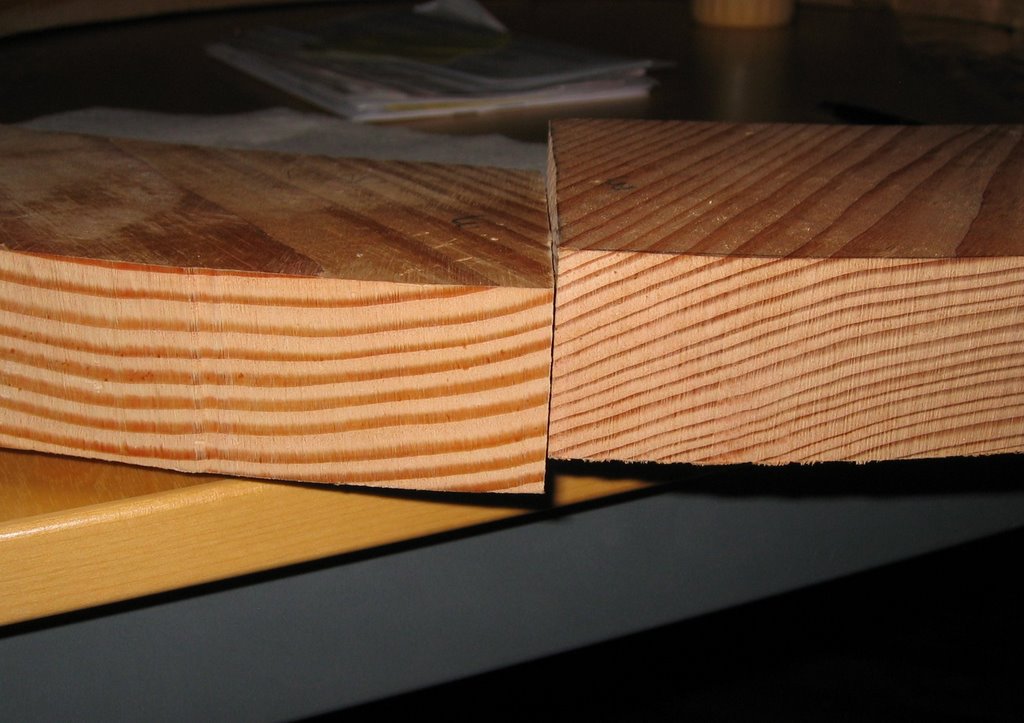
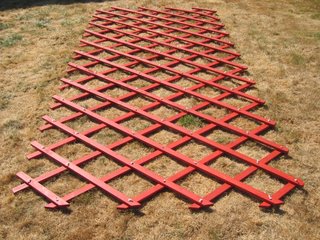
 Above you can see the first lattice wall section taking form. If my explanation about the wall slat end pieces in an earlier post was confusing, you can see here how at the end of the wall the slats need to be shorter so you can have a straight end to the section. You can tell that the completed end above joins the door frame because the pieces have been cut at 45 degree angles. This permits the section to be tied flush to the door frame.
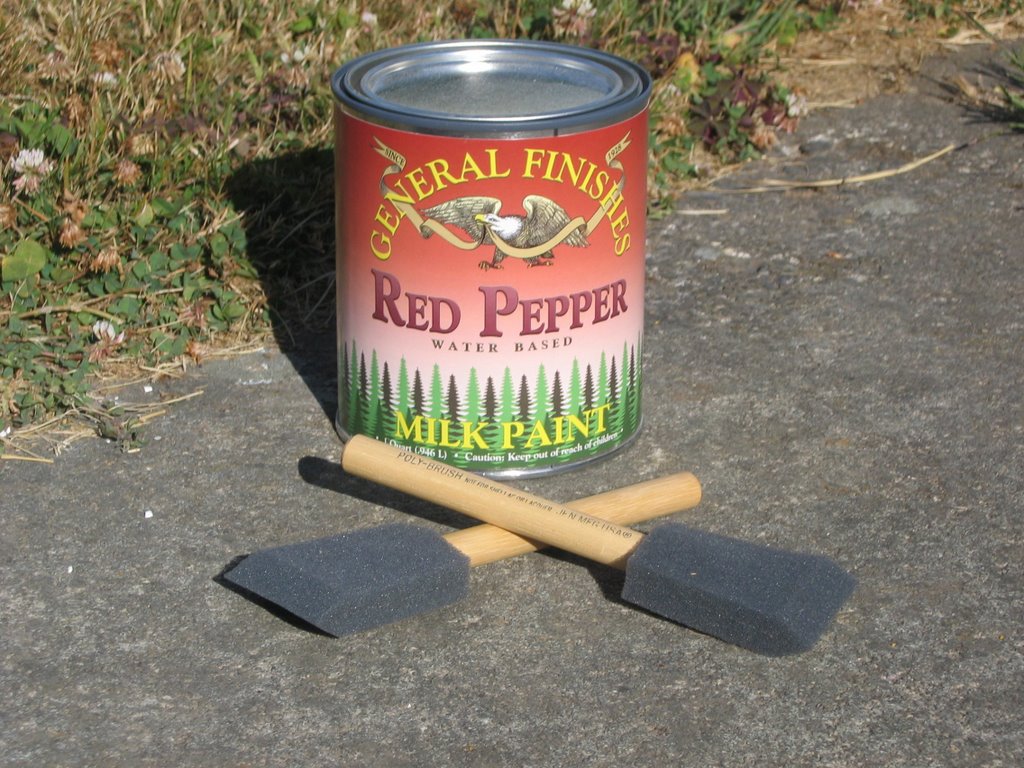
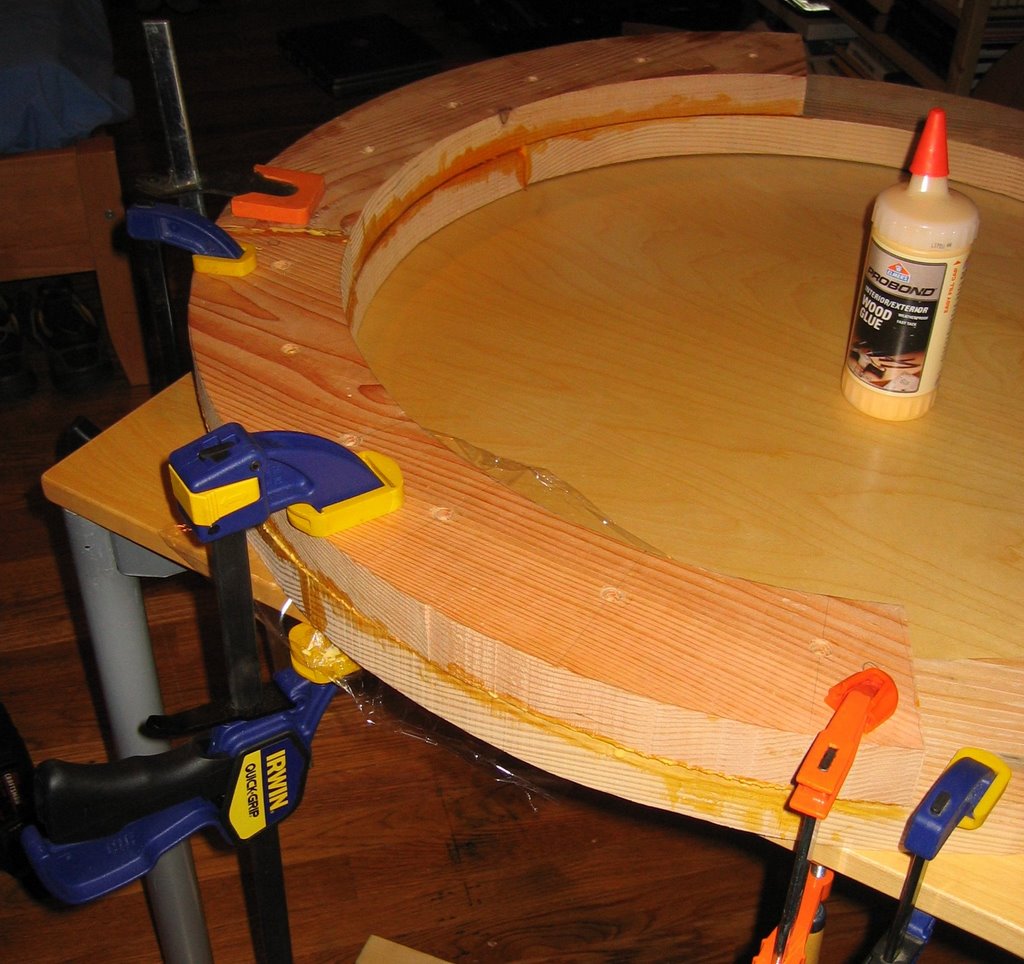
The paint of course filled in all the drilled holes a bit, so had to be reamed out before the 5/32" braided nylon rope could fit through. I found that using a drill in reverse worked best for cleaning out the holes. Another key insight is that using a cigarette lighter to melt the ends of the nylon is crap. My thumb was blistered in about an hour and the rope ends were not especially well-melted. A critical lesson of this whole yurt project is that every job has the right tool, even if you are clueless about it. This is where Steve, the man with the tools, saved the day with his propane torch. He would make other key appearances with sweet tools and a helping hand time and again when I hit moments of frustration. Steve probably would have been right at my side the whole time helping out if he weren't in the middle of stripping all the paint off his house. He is eager to make his own yurt once the house is done, so I'll get a chance to repay his help then.
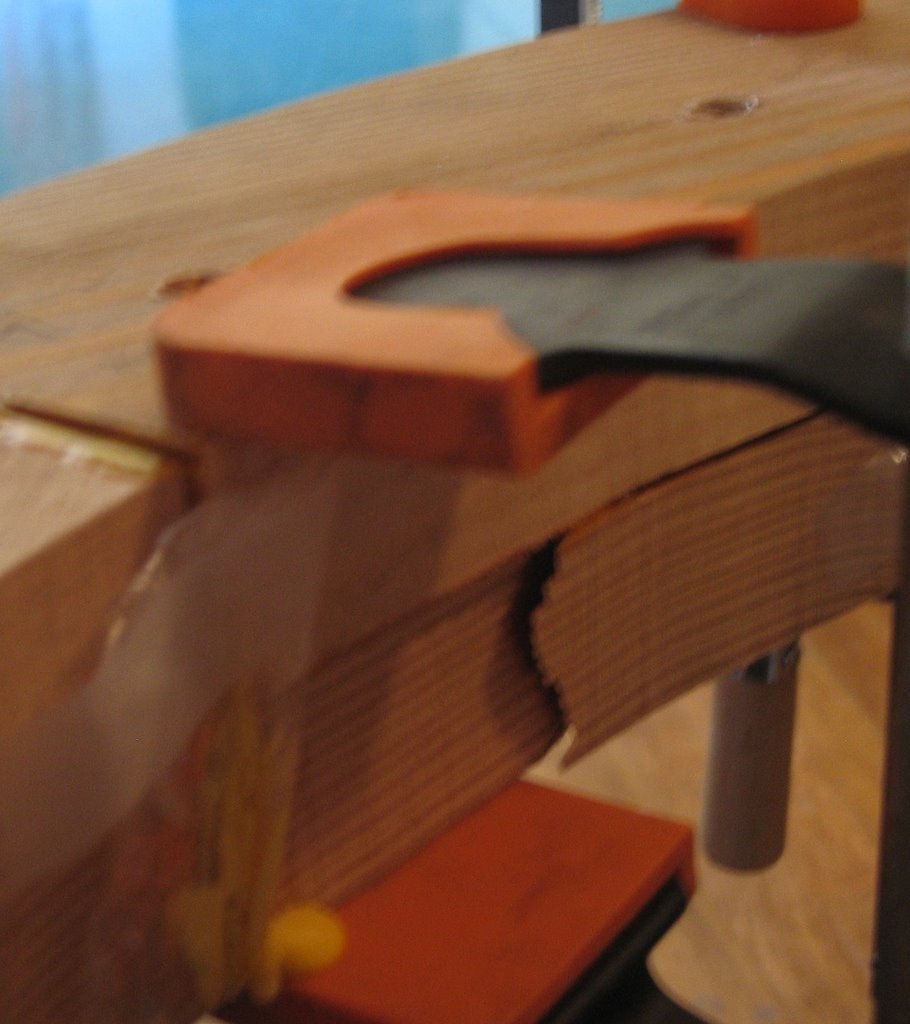
Anyway, back to the knots. I cut off about a 15' length of the rope and melted one end into a tapered kind of needle. For this work the lighter actually proved capable, as I used the bottom of the lighter itself to shape the melted blob of nylon against the concrete in between warming it with the lighter flame. After tying a knot in the non-needle end of the rope, you can thread the cord from the bottom through the two slats that are being tied together. A pair of needle-nose pliers is handy if you run into trouble forcing the rope through the two holes -- but as I got better at properly tapering the needle I rarely had issues. Once the rope is through and the first knot is snug on the other side, I hold as much tension as possible to join the slats very tightly and tie the second knot. Then you cut off the rope about half an inch or so above the knot and tie another knot in the end of the long piece. Whenever the rope runs out, you just cut off a new length from the spool and melt a new needle on one end.
The first wall section has been fully tied and it feels oh so good to finally have one completely finished component of the yurt ready! It only took about 4 hours. Fortunately, like many other aspects of the project, getting the first piece of a set done takes hugely longer to figure out and perfect your process. By the time I got to the last of the four wall sections the following day, I had the work down to just a bit more than 2 hours.
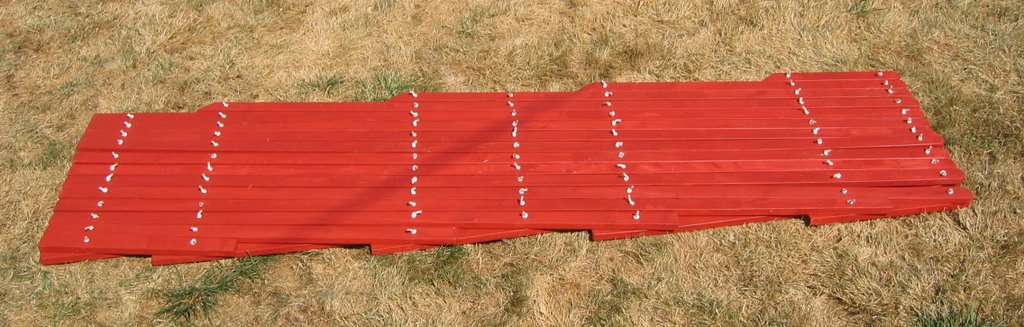
After all the knots on a wall section were tied, I fired up the torch and turbo-melted the ends of all the rope to prevent fraying. Flip the wall over to repeat on the other side. It wasn't until the second wall that I realized I could accordian the wall down into a much smaller section as below. Not only does this make torching the rope faster and easier, but this ingenious feature is what permits the nomads in Mongolia to move their yurts from place to place with great ease.
 The compressed wall lattices are almost 6'6" tall, but (from memory) only about a foot and a half wide. The below photo of one wall section leaning against my car gives a sense of scale to the expanded wall. Pretty amazing size difference! Would you have guessed that four of these wall sections could fit INSIDE this car? I almost didn't even try it. The rear seats can't fold down, but moving the front passenger seat all the way back and reclining it down all the way, I was able to stack all four walls slanting up from the passenger foot well almost to the rear seat's headrest. Amazing! I'm gonna be an urban nomad.

 Above you can see the first lattice wall section taking form. If my explanation about the wall slat end pieces in an earlier post was confusing, you can see here how at the end of the wall the slats need to be shorter so you can have a straight end to the section. You can tell that the completed end above joins the door frame because the pieces have been cut at 45 degree angles. This permits the section to be tied flush to the door frame.
The paint of course filled in all the drilled holes a bit, so had to be reamed out before the 5/32" braided nylon rope could fit through. I found that using a drill in reverse worked best for cleaning out the holes. Another key insight is that using a cigarette lighter to melt the ends of the nylon is crap. My thumb was blistered in about an hour and the rope ends were not especially well-melted. A critical lesson of this whole yurt project is that every job has the right tool, even if you are clueless about it. This is where Steve, the man with the tools, saved the day with his propane torch. He would make other key appearances with sweet tools and a helping hand time and again when I hit moments of frustration. Steve probably would have been right at my side the whole time helping out if he weren't in the middle of stripping all the paint off his house. He is eager to make his own yurt once the house is done, so I'll get a chance to repay his help then.
Anyway, back to the knots. I cut off about a 15' length of the rope and melted one end into a tapered kind of needle. For this work the lighter actually proved capable, as I used the bottom of the lighter itself to shape the melted blob of nylon against the concrete in between warming it with the lighter flame. After tying a knot in the non-needle end of the rope, you can thread the cord from the bottom through the two slats that are being tied together. A pair of needle-nose pliers is handy if you run into trouble forcing the rope through the two holes -- but as I got better at properly tapering the needle I rarely had issues. Once the rope is through and the first knot is snug on the other side, I hold as much tension as possible to join the slats very tightly and tie the second knot. Then you cut off the rope about half an inch or so above the knot and tie another knot in the end of the long piece. Whenever the rope runs out, you just cut off a new length from the spool and melt a new needle on one end.

The first wall section has been fully tied and it feels oh so good to finally have one completely finished component of the yurt ready! It only took about 4 hours. Fortunately, like many other aspects of the project, getting the first piece of a set done takes hugely longer to figure out and perfect your process. By the time I got to the last of the four wall sections the following day, I had the work down to just a bit more than 2 hours.
After all the knots on a wall section were tied, I fired up the torch and turbo-melted the ends of all the rope to prevent fraying. Flip the wall over to repeat on the other side. It wasn't until the second wall that I realized I could accordian the wall down into a much smaller section as below. Not only does this make torching the rope faster and easier, but this ingenious feature is what permits the nomads in Mongolia to move their yurts from place to place with great ease.
 The compressed wall lattices are almost 6'6" tall, but (from memory) only about a foot and a half wide. The below photo of one wall section leaning against my car gives a sense of scale to the expanded wall. Pretty amazing size difference! Would you have guessed that four of these wall sections could fit INSIDE this car? I almost didn't even try it. The rear seats can't fold down, but moving the front passenger seat all the way back and reclining it down all the way, I was able to stack all four walls slanting up from the passenger foot well almost to the rear seat's headrest. Amazing! I'm gonna be an urban nomad.
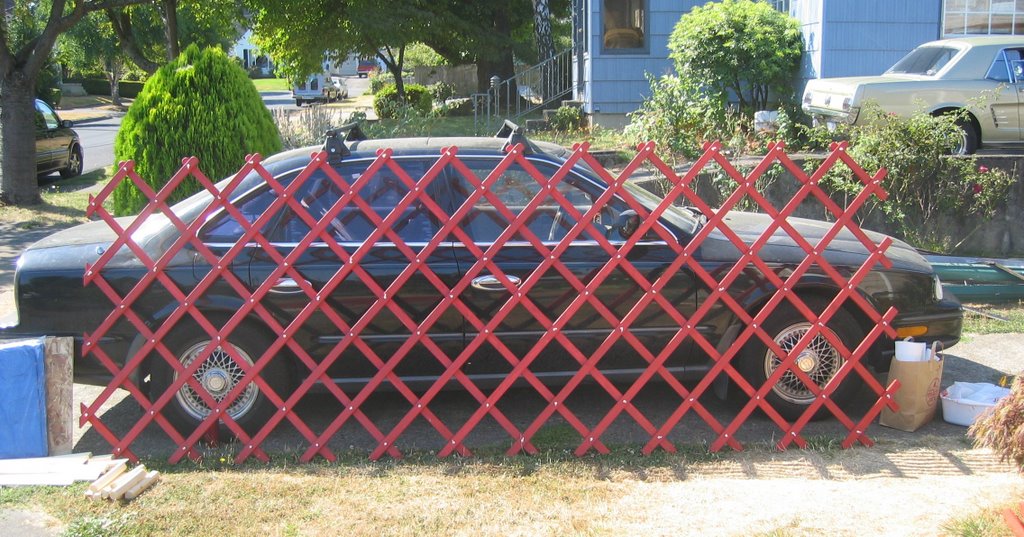
posted by yurt boy at 10:20 PM
3 comments
![]()