Screwed, Glued, and (not) Tattooed
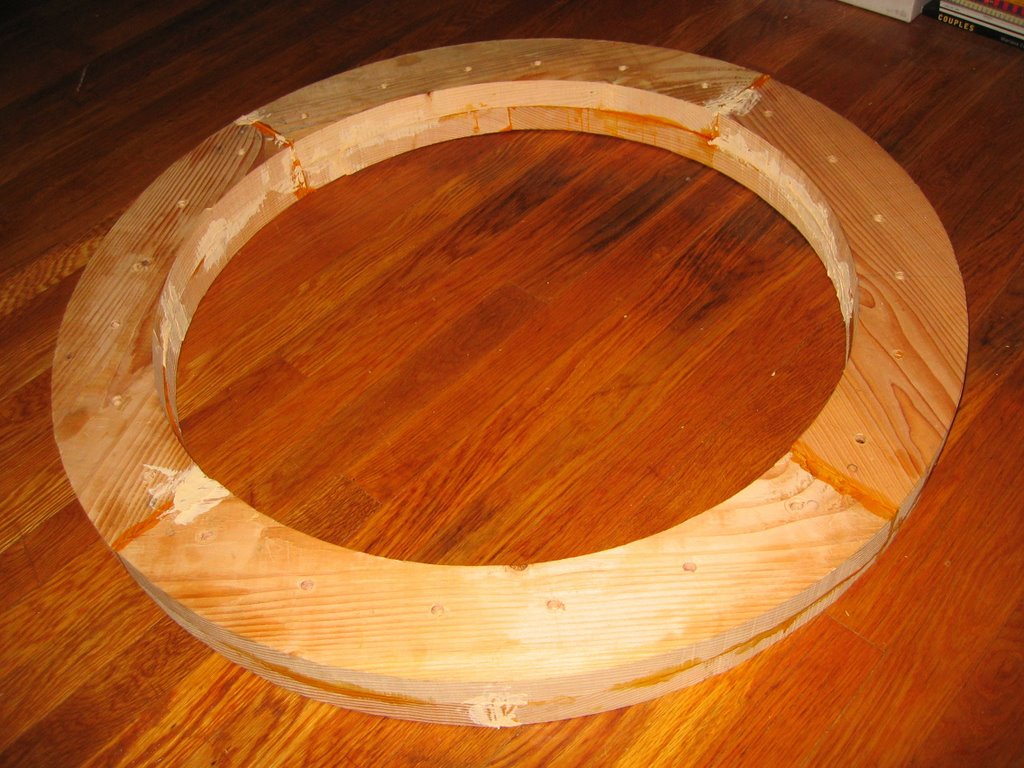
The eight quarter circle sections have now been joined with glue and screws to form a laminated ring. Getting there was a bit bumpy though. Although it may look pretty decent in the photo, notice the lighter colored patches where I've applied wood filler to plug up gaps in the ring caused by warped wood sections. None of the eight sections were perfectly flat, and several were visibly twisted and warped. They were flat enough I thought. The woodworking world was conquered with an armful of clamps and a handful of screws, right?
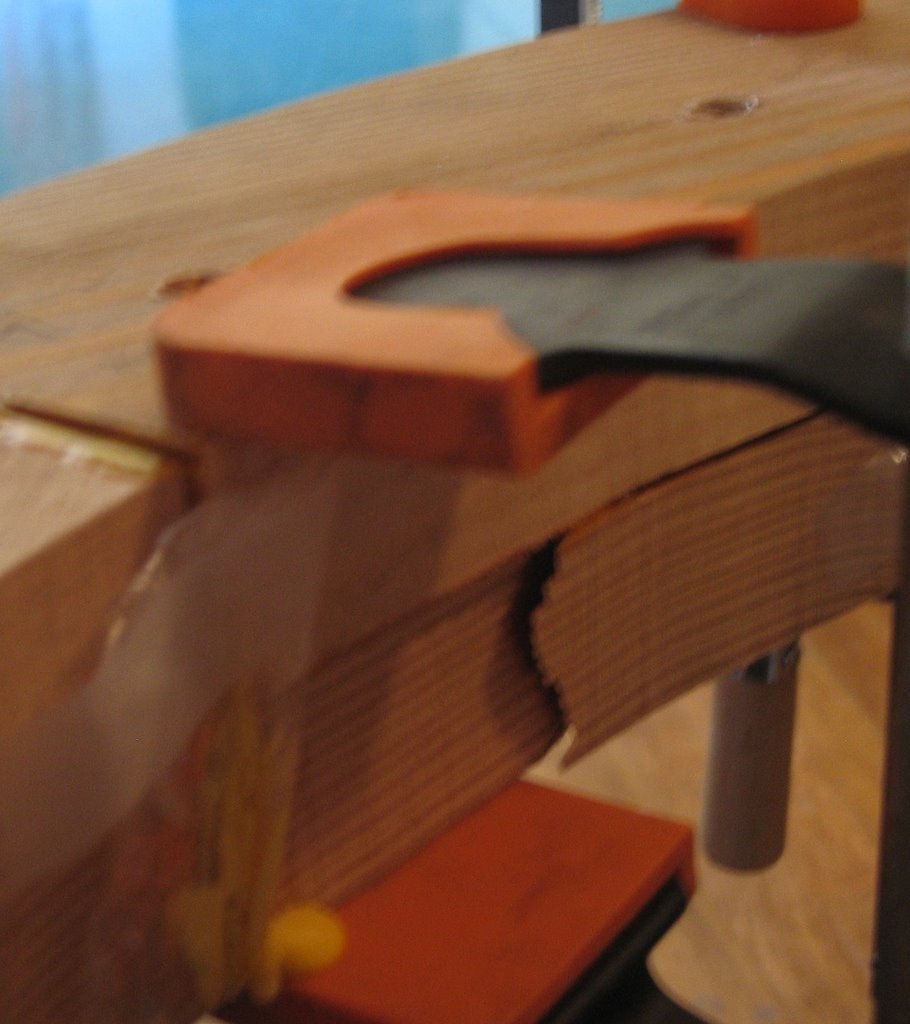
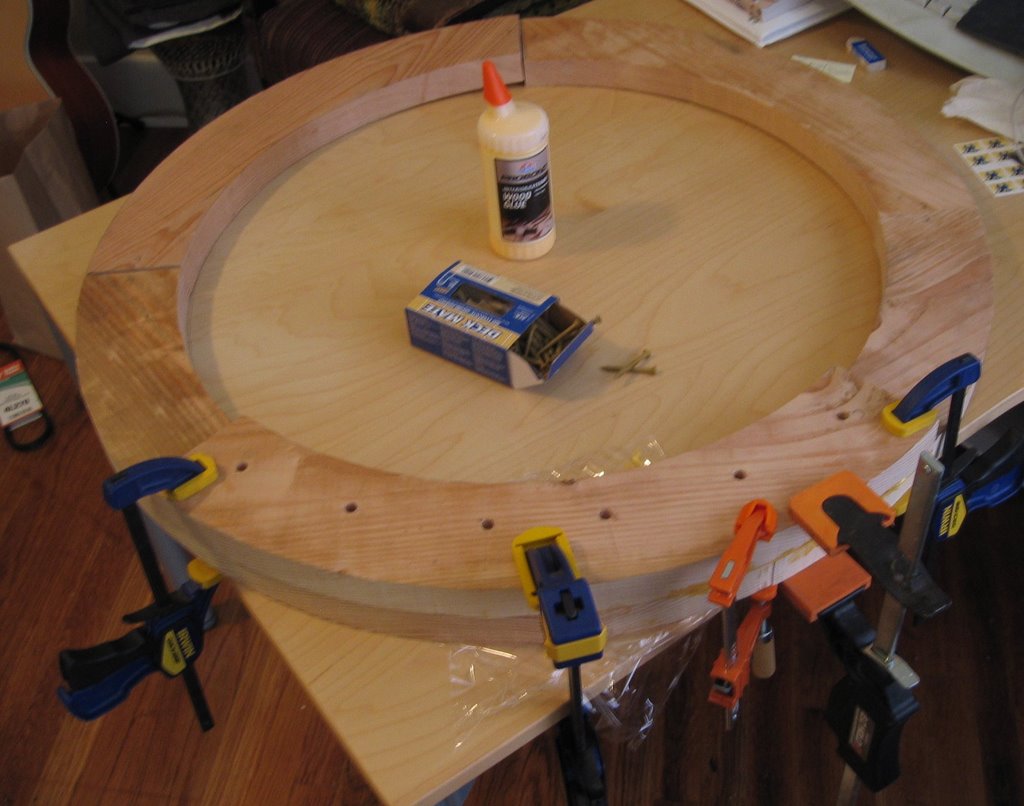 Here is the first clamp and screw job, as it were. In my haste, I forgot the first rule of glueing. Before you take the cap off the glue bottle, make sure every piece, every tool, every paper towel for cleaning your fingers part way through, every detail you can think of, is completely ready to go. For example, it would be poor planning to leave the special driver bit that comes with the fancy exterior wood screws I'm using in the box rather than having it already snug in the drill's chuck. It would also help to have the exact number of screws you need conveniently at hand. I blew it on both of these things and a few more besides. Fortunately, there is a special trick to adjust wood you are glueing together after the glue has begun to set. Simply take a mallet and whack the pieces into place.
Anyway, the first glue up is the most difficult here anyway because you need to make sure your alignment will permit the rest of the pieces to form the best circle. Kind of tricky with a 3' circle of warped boards. I did okay.
An hour later after the glue has set enough to remove the clamps, I get ready to add another top and lower section to the ring. I am careful to have all my ducks in a row and it goes pretty well. I laid all eight sections together as intended and then traced the edges of the new lower section onto the table with a pencil. This way when I start joining the new pieces to the ring I can verify if the alignment is right (firmly clamping the previously joined ring pieces to the table first is key here to prevent things moving around). Notice that my workbench today is my desk. I needed something big and as flat as possible for this job.

Here goes the third top section. I'm feeling confident and happy now with my results. After the glue dries, just one last section to add. Piece of cake!
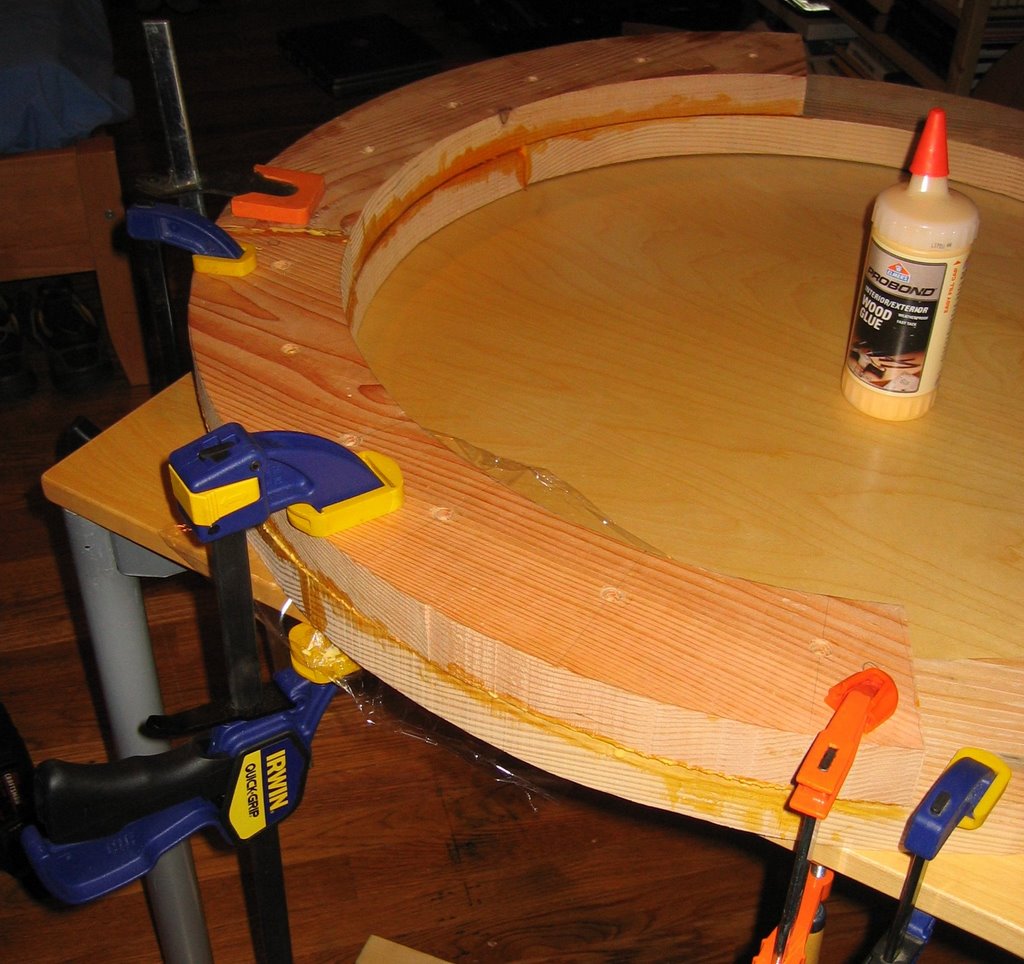
Of course I notice that the two lower sections that are below the final upper section are a bit out of alignment. I was pleased at how closely they kiss, but one is about a third of an inch higher than the other. What's worse, they kind of twist in opposite directions. Before glueing, I put the top section in place and find the best locations for all my clamps to force all the mating faces as close to flat as possible. It ain't bad. I trace around the jaws of the clamps so I know exactly where to put them when glueing.
So then I liberally apply glue on all the mating faces and drop the last section into place. I carefully clamp it gradually here and there to pull the three pieces into the same plane with each other without pushing them out of whack in one direction or the other. It's looking great, so I reach for the drill. After putting three screws in on one side to join to the first lower board, I start to drill the other side in. When driving the second screw in, I hear a bad sound.

See the crack in the lower part of the ring? The bottom piece has completely split into two fragments. Crap, crap, crap! There was a fair amount of stress on the wood from being torqued against it's will. When the screw went in, the tension was released in a cleavage passing diagonally through the screw's entry point. Here's how it looks from inside the ring.
This makes me a mildly unhappy camper. At the last moment, defeat was snatched from the jaws of victory! I assess my options quickly. Half of the section which split is already firmly glued and screwed to the rest of the ring, so swapping it out completely would not be straight-forward. The smaller fragment of this piece is held by one screw and a decent amount of glue, so I decide to patch up the crack later.
Today I filled all the minor gaps and this big crack with some wood filler. I thought the filler was supposed to be strong, but after applying it I now think it would have been better to just stuff in a small scrap of wood cut to fit the crack and glue the whole mess up. My plan now is to reinforce this section with some metal bracing on the inside or wrapped around like a band. Wish me luck.
posted by yurt boy at 11:10 PM
![]()

2 Comments:
wishing you luck.
-i
"Simply take a mallet and whack the pieces into place"
It's amazing how well that works with just about everything.
Post a Comment
<< Home